
[Dreamhack] file-csp-1
문제 설명
- 문제에서 요구하는 조건에 맞게 CSP를 작성하면 플래그를 획득할 수 있습니다.
풀이
문제에 접속해보면 CSP를 테스트하는 부분과 검증하는 부분이 존재한다.
소스 코드
#!/usr/bin/env python3
import os
import shutil
from time import sleep
from urllib.parse import quote

from flask import Flask, request, render_template, redirect, make_response
from selenium import webdriver

from flag import FLAG

APP = Flask(__name__)


@APP.route('/')
def index():
    return render_template('index.html')


@APP.route('/test', methods=['GET', 'POST'])
def test_csp():
    return render_template('test.html')


@APP.route('/verify', methods=['GET', 'POST'])
def verify_csp():
    global CSP
    if request.method == 'POST':
        csp = request.form.get('csp')
        try:
            options = webdriver.ChromeOptions()
            for _ in ['headless', 'window-size=1920x1080', 'disable-gpu', 'no-sandbox', 'disable-dev-shm-usage']:
                options.add_argument(_)
            driver = webdriver.Chrome('/chromedriver', options=options)
            driver.implicitly_wait(3)
            driver.set_page_load_timeout(3)
            driver.get(f'http://localhost:8000/live?csp={quote(csp)}')
            try:
                a = driver.execute_script('return a()');
            except:
                a = 'error'
            try:
                b = driver.execute_script('return b()');
            except:
                b = 'error'
            try:
                c = driver.execute_script('return c()');
            except Exception as e:
                c = 'error'
                c = e
            try:
                d = driver.execute_script('return $(document)');
            except:
                d = 'error'

            if a == 'error' and b == 'error' and c == 'c' and d != 'error':
                return FLAG

            return f'Try again!, {a}, {b}, {c}, {d}'
        except Exception as e:
            return f'An error occured!, {e}'

    return render_template('verify.html')


@APP.route('/live', methods=['GET'])
def live_csp():
    csp = request.args.get('csp', '')
    resp = make_response(render_template('csp.html'))
    resp.headers.set('Content-Security-Policy', csp)
    return resp


if __name__ == '__main__':
    APP.run(host='0.0.0.0', port=8000, threaded=True)
/test 경로 분석
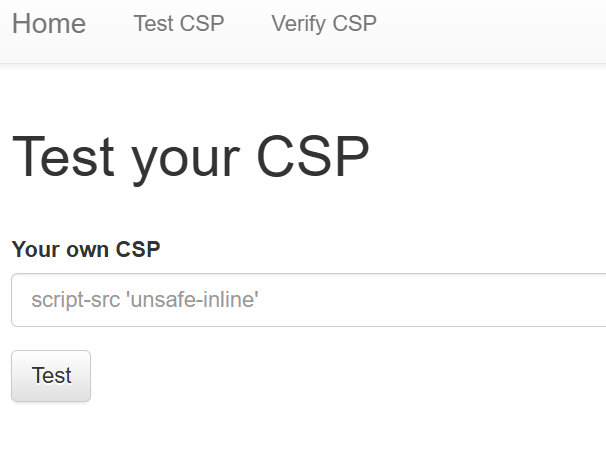
아래 /test 소스 코드를 살펴보면 test.html 파일을 불러오고 있다.
@APP.route('/test', methods=['GET', 'POST'])
def test_csp():
    return render_template('test.html')
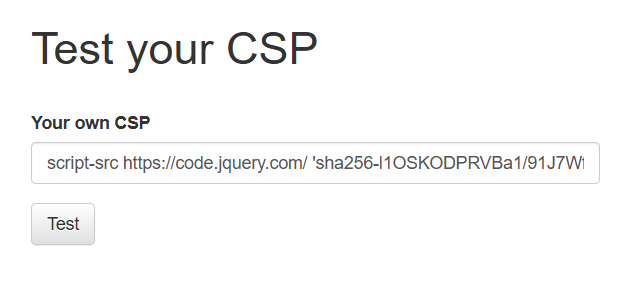
test.html 파일을 보면 /live 경로에 GET 메소드로 csp 라는 파라미터에 값을 넣어 보내는 것을 알 수 있다.
<h1>Test your CSP</h1><br/>
<form method="GET" action="/live">
  <div class="row">
    <div class="col-md-6 form-group">
      <label for="CSP">Your own CSP</label>
      <input type="text" class="form-control" id="CSP" placeholder="script-src 'unsafe-inline'" name="csp" required>
    </div>
  </div>

  <button type="submit" class="btn btn-default">Test</button>
</form>
/live 경로에서는 GET 메소드로 csp 파라미터 값을 받아와 csp.html을 출력하고 CSP 헤더를 csp 파라미터 값으로 설정해주고 있다.
@APP.route('/live', methods=['GET'])
def live_csp():
    csp = request.args.get('csp', '')
    resp = make_response(render_template('csp.html'))
    resp.headers.set('Content-Security-Policy', csp)
    return resp
csp.html 를 보면 a, b 코드는 막고 c, d 코드는 허용하라는 것 같다.
<!doctype html>
<html>
	<head>
	<!-- block me -->
	<script>
		function a() { return 'a'; }
		document.write('a: block me!<br>');
	</script>
	<!-- block me -->
	 <script nonce="i_am_super_random">
		function b() { return 'b'; }
		document.write('b: block me!<br>');
	</script>
	<!-- allow me -->
	<script
  src="https://code.jquery.com/jquery-3.4.1.slim.min.js"
  integrity="sha256-pasqAKBDmFT4eHoN2ndd6lN370kFiGUFyTiUHWhU7k8="
  crossorigin="anonymous"></script>
	<!-- allow me -->
	 <script nonce="i_am_super_random">
		function c() { return 'c'; }
		document.write('c: allow me!<br>');
		try { $(document); document.write('jquery: allow me!<br>'); } catch (e) {  }
	</script>
	</head>
</html>
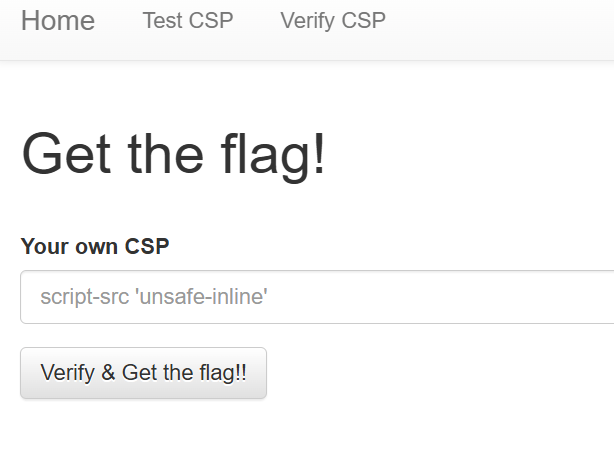
/verify 경로 분석
verify 코드에서는 POST 메소드로 csp 파라미터 값을 보내고, 관리자 권한을 이용해서 csp 값을 URL 인코딩을 해준다. 다음으로 아래 조건들에 맞게 a, b는 error가 나와야하고, c는 ‘c’가 나오고, d는 에러가 아니어야 flag가 출력된다.
@APP.route('/verify', methods=['GET', 'POST'])
def verify_csp():
    global CSP
    if request.method == 'POST':
        csp = request.form.get('csp')
        try:
            options = webdriver.ChromeOptions()
            for _ in ['headless', 'window-size=1920x1080', 'disable-gpu', 'no-sandbox', 'disable-dev-shm-usage']:
                options.add_argument(_)
            driver = webdriver.Chrome('/chromedriver', options=options)
            driver.implicitly_wait(3)
            driver.set_page_load_timeout(3)
            driver.get(f'http://localhost:8000/live?csp={quote(csp)}')
            try:
                a = driver.execute_script('return a()');
            except:
                a = 'error'
            try:
                b = driver.execute_script('return b()');
            except:
                b = 'error'
            try:
                c = driver.execute_script('return c()');
            except Exception as e:
                c = 'error'
                c = e
            try:
                d = driver.execute_script('return $(document)');
            except:
                d = 'error'

            if a == 'error' and b == 'error' and c == 'c' and d != 'error':
                return FLAG
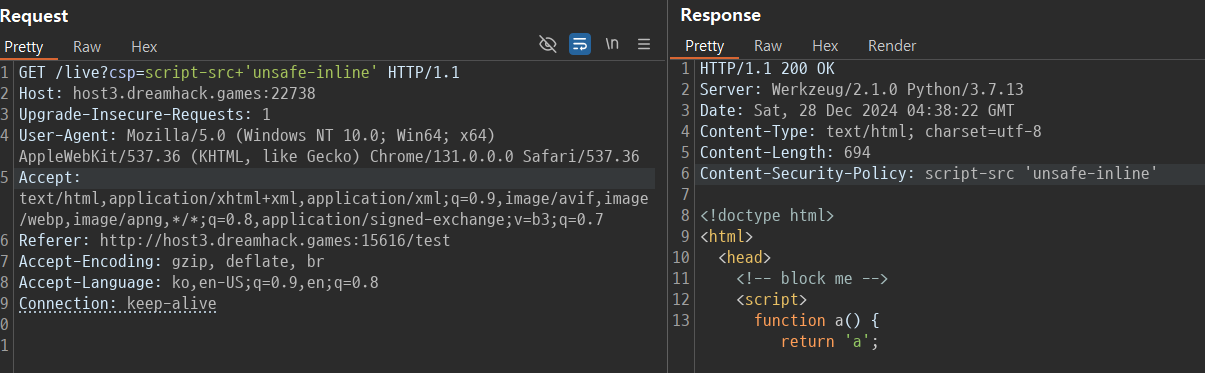
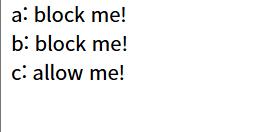
burp로 place holder 부분에 있었던 script-src 'unsfae-inline' 이라는 인라인 스크립트를 허용하는 지시문을 입력하면 응답 부분 CSP 헤더에 설정되는 걸 볼 수 있다. 보면 a,b,c가 허용되어 출력되고 있다.
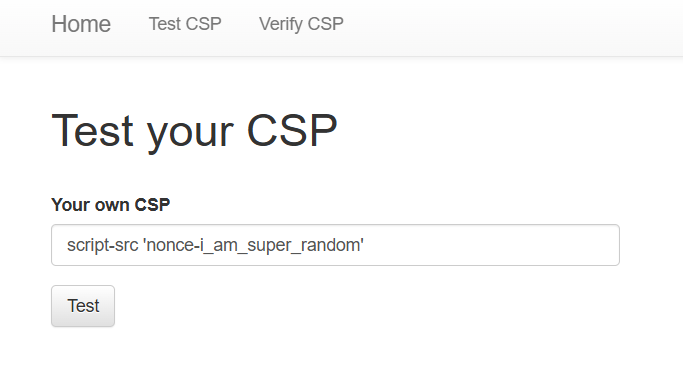
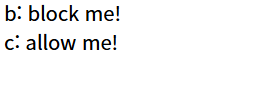
script-src 'nonce-i_am_super_random' 지시문을 입력해보니 script 태그에 해당 nonce 값만 가지고 있는 b랑 c만 출력되었다.
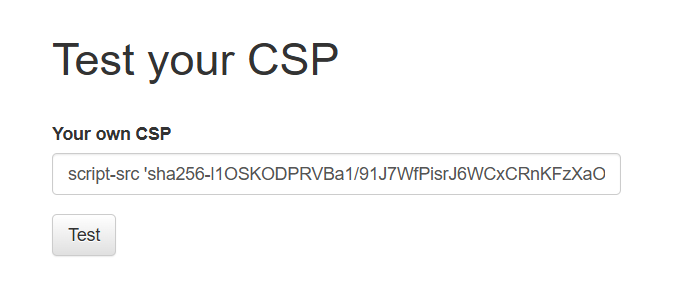
여기서 scrpt-src 'none'를 입력하고 개발자 도구의 console 창을 확인해보면 브라우저가 개발자들을 돕기 위해 차단된 인라인 스크립트를 허용하려면 어떤 해시값이 필요한지 알려주고 있다. 브라우저는 각 인라인 스크립트 내용을 기반으로 해시 값을 계산하고 이를 에러 메세지에 표시한다고 한다.

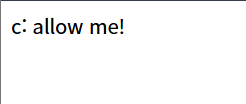
우리가 허용해야 할 건 live:20 번 줄의 sha256-해시값이므로 아래와 같이 csp를 설정하고 확인해보면 c만 허용된 것을 볼 수 있다.
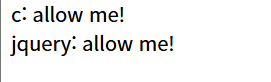
마지막 jquery가 사용되는 부분이 출력되어야 하는데 이를 허용해주는건 간단하게 해시값 옆에 https://code.jquery.com/ 을 추가해주면 된다.
	<script
  src="https://code.jquery.com/jquery-3.4.1.slim.min.js"
  integrity="sha256-pasqAKBDmFT4eHoN2ndd6lN370kFiGUFyTiUHWhU7k8="
  crossorigin="anonymous"></script>
	<!-- allow me -->
	 <script nonce="i_am_super_random">
		function c() { return 'c'; }
		document.write('c: allow me!<br>');
		try { $(document); document.write('jquery: allow me!<br>'); } catch (e) {  }
	</script>
따라서 해당 지시문으로 테스트 해보면 c랑 jquery 부분이 출력되고 Verify 탭에서 지시문을 확인해보면 flag가 잘 출력되는 것을 확인할 수 있다. 이 문제에서 새롭게 알게 된 것은 nonce 값이 같다고 하더라도 해시값으로 따로 CSP를 적용할 수 있다는 것을 알게되었다.

댓글남기기